Introduction
Wyze cameras give you affordable, reliable video monitoring for your home, but the first setup can feel confusing if you are not used to smart devices. Wi‑Fi bands, QR codes, and app permissions often trip people up. The good news: once you understand the Wyze camera setup process, installing extra cameras and keeping them running becomes very simple.
This guide walks you through the full Wyze camera setup from unboxing to daily use. You will learn what you need before you start, how to connect the camera to your 2.4 GHz Wi‑Fi, how to mount it for the best view, and how to tune the Wyze app settings so you do not get flooded with alerts. You will also see how to store your video, connect Wyze to Alexa and Google Home, and fix common setup problems like device offline and QR code errors.
By the end, you will have a smooth, secure Wyze camera setup that fits neatly into your smart home and protects what matters most.
What You Need Before Starting Your Wyze Camera Setup
A smooth Wyze camera setup starts long before you scan a QR code. When you prepare your hardware, network, and app in advance, the actual installation takes only a few minutes and avoids many common errors.
Compatible Wyze Camera Models for 2024
Most current Wyze cameras follow the same basic setup steps, but it helps to know which model you have. Common 2024 models include:
- Wyze Cam v4 (indoor/outdoor wired)
- Wyze Cam Pan v3 or newer (pan/tilt indoor)
- Wyze Battery Cam Pro (battery‑powered outdoor)
- Wyze Video Doorbell and Wyze Video Doorbell Pro
- Wyze Floodlight Cam and similar variants
Check the model name on the box or the sticker on the camera. In the Wyze app, you will choose this exact model when you add the device, so be sure you pick the right one.
Wi‑Fi and Network Requirements
Wyze cameras connect only to 2.4 GHz Wi‑Fi, not 5 GHz. Before setup:
- Confirm your router broadcasts a 2.4 GHz network.
- Make sure you know the Wi‑Fi name (SSID) and password.
- Aim for at least 2–3 Mbps upload speed per camera for smooth streaming.
If your router merges 2.4 GHz and 5 GHz under one name, you can still connect. However, if you see frequent issues, consider splitting them into two different network names in your router settings so you can force the camera onto 2.4 GHz.
Wyze App Download and Account Creation
Wyze camera setup happens through the Wyze app:
- Download the Wyze app from the App Store (iOS) or Google Play (Android).
- Open the app and create a Wyze account with your email.
- Verify your email and log in.
- Allow required permissions such as Bluetooth, camera, and location when prompted.
Using the latest app version helps you avoid many early glitches and ensures you see the newest interface and features.
Choosing the Right Location for Your Wyze Camera
Before you mount anything, decide where the camera will live:
- Near a power outlet if it is a wired model.
- Within strong Wi‑Fi signal range (two or three bars on your phone is a good sign).
- With a clear line of sight to the area you want to monitor.
- Away from direct sunlight shining into the lens and reflective glass.
Doing this planning first makes the next step, the actual Wyze camera setup in the app, much faster and more reliable.
Step‑by‑Step Wyze Camera Setup for First‑Time Users
Once your network, account, and location are ready, you can start the core Wyze camera setup process. Your goal here is simple: power on the camera, put it into pairing mode, then connect it to Wi‑Fi via the app without errors.
Unboxing and Powering On Your Wyze Camera
Inside the box you will usually find:
- The camera body
- A USB power cable and power adapter (for wired models)
- Mounting hardware or base
- A quick start guide
To power on a wired Wyze camera:
- Plug the USB cable into the camera.
- Plug the other end into the power adapter and then into a wall outlet.
- Wait for the status light to turn solid yellow, then blink or change color based on the model.
A flashing status light usually means the camera is ready to pair. For battery models, make sure the battery is charged before you start.
Putting the Camera into Pairing Mode
Most Wyze cameras enter pairing mode automatically on first boot. If not:
- Look for a setup or reset button, often on the bottom or back.
- Press and hold the button until you hear a prompt such as Ready to connect or see a specific light pattern.
If you previously used the camera, you may need a factory reset before pairing it with a new network or account. This clears old settings that can block a fresh Wyze camera setup.
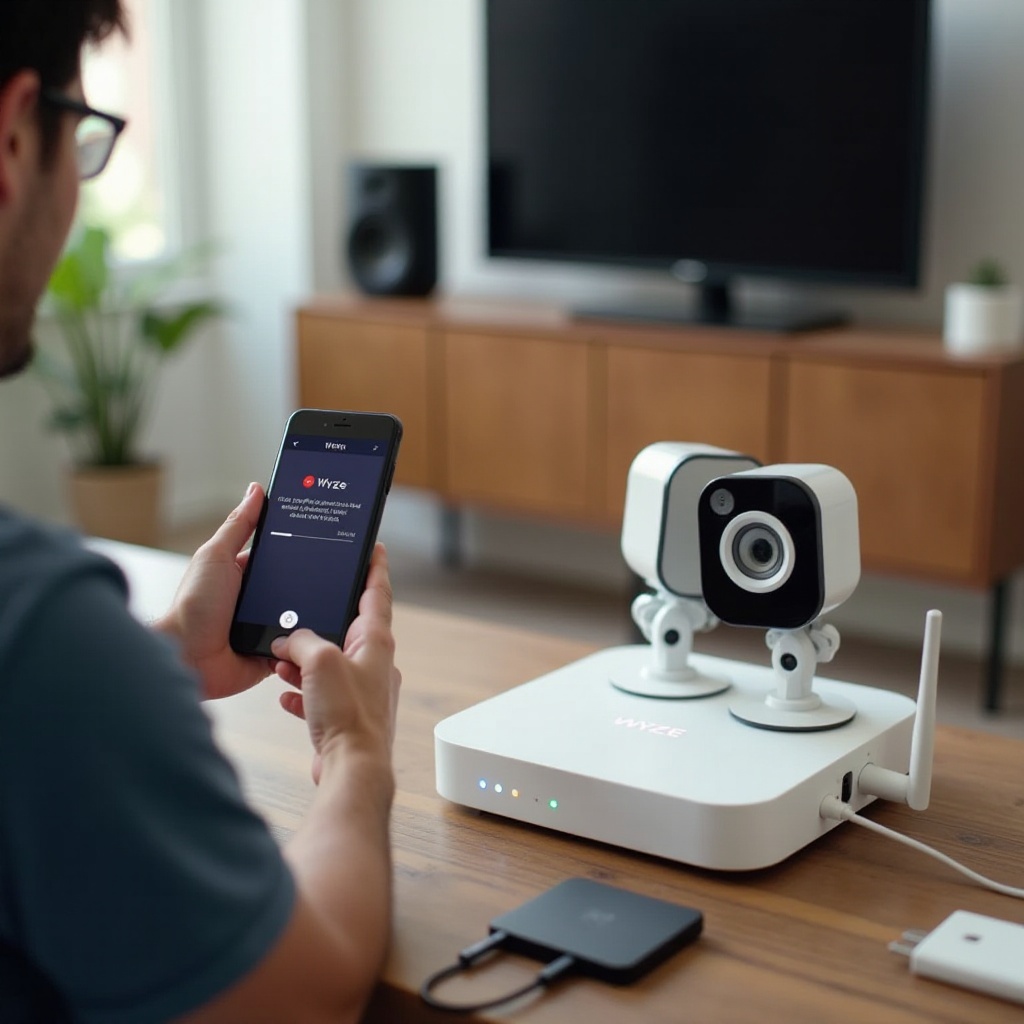
Adding a New Wyze Device in the Wyze App
Now switch to the Wyze app:
- Open the Wyze app and sign in.
- Tap the + icon in the top corner.
- Select Add Device, then Cameras.
- Choose your exact Wyze camera model from the list.
- Follow the on‑screen instructions until you reach the Wi‑Fi step.
The app will ask to confirm permissions, such as Bluetooth and location, to help discover nearby devices. Accept these so the app can find and configure your camera.
Connecting Wyze Camera to 2.4 GHz Wi‑Fi
When prompted:
- Choose your 2.4 GHz Wi‑Fi network from the list.
- Enter the Wi‑Fi password carefully.
- The app will show a QR code on your phone screen.
- Hold your phone 5–8 inches in front of the camera lens so it can scan the QR code.
You will hear a voice prompt such as QR code scanned or similar. The camera will then connect to your Wi‑Fi and the Wyze cloud. This part can take up to a minute or two, so give it time to finish.
Naming Your Camera and Completing Initial Setup
After the connection succeeds:
- Give the camera a clear, descriptive name like Front Door, Garage, or Living Room.
- Confirm the time zone.
- Finish the wizard to reach the live view screen.
At this point, the core Wyze camera setup is complete, and you should see live video from your camera. Next, you will mount it and refine its position so the view and motion detection work well.
Mounting and Positioning Your Wyze Camera Correctly
With the camera connected and online, you can now install it in its final location. Good placement improves video quality, motion detection, and how useful the camera is in real situations.
Indoor Placement Best Practices
For indoor Wyze cams:
- Mount at 6–8 feet high, angled slightly downward.
- Cover entry points, hallways, and main living areas.
- Avoid pointing directly at TVs or bright windows, which can confuse motion detection.
You can use the included stand on a shelf or use the mounting kit to attach the camera to a wall or ceiling. Always check the live view as you adjust the angle.
Outdoor Placement and Weather Protection
For outdoor‑rated cameras:
- Mount under eaves or a small overhang for extra protection.
- Aim the camera toward your driveway, front door, or backyard gate.
- Keep it within the manufacturer's temperature and weather specs.
Use weatherproof cable covers for wired models, and avoid placing the camera where rainwater can run down the cable into the housing. This helps your Wyze camera setup last longer outdoors.
Avoiding Glare, Reflections, and Blind Spots
To get a clear image:
- Avoid pointing the camera directly at glass windows, especially at night.
- Keep strong lights and the sun out of the frame as much as possible.
- Check the live view while adjusting the angle so you can see the blind spots.
Small adjustments can dramatically improve the quality of your recordings, especially for night vision and motion detection.
Cable Management and Power Considerations
For wired Wyze cameras:
- Use cable clips or raceways to keep wires tidy and safe.
- Avoid running cables where they can be pinched in doors or windows.
- If using extension cables, choose high‑quality ones rated for the camera's power needs.
Once you secure the camera and cables, your physical setup is done. The next step is to fine‑tune the Wyze app settings so the camera behaves the way you want every day.
Essential Wyze App Settings to Configure After Setup
The default settings work, but they rarely match your home or lifestyle. Tweaking a few options after Wyze camera setup can cut false alerts, improve video quality, and protect your privacy.
Updating Firmware and Basic Device Info
Start by updating firmware:
- Open the Wyze app and tap your camera.
- Go to Settings > Device Info > Firmware Version.
- If an update is available, install it.
Firmware updates often fix bugs, improve detection, and patch security issues. While you are there, check that the name, time zone, and other basic details are correct.
Motion Detection Sensitivity and Detection Zones
To control motion alerts:
- Adjust Motion Sensitivity to reduce false alerts from pets or small movements.
- Use Detection Zones to focus on doors, driveways, or specific areas.
- Exclude busy streets or trees that move in the wind.
Tuning these settings helps you catch real events without constant notifications that you start to ignore.
Video Quality, Night Vision, and Sound Recording
In settings, you can choose:
- Video quality: SD to save bandwidth, HD for more detail.
- Night vision mode: On, Off, or Auto, depending on your lighting.
- Sound recording: Enable or disable based on privacy needs.
If you see grainy images at night, try adjusting night vision or adding a small, indirect light source nearby. Testing at different times of day will show you the best combination.
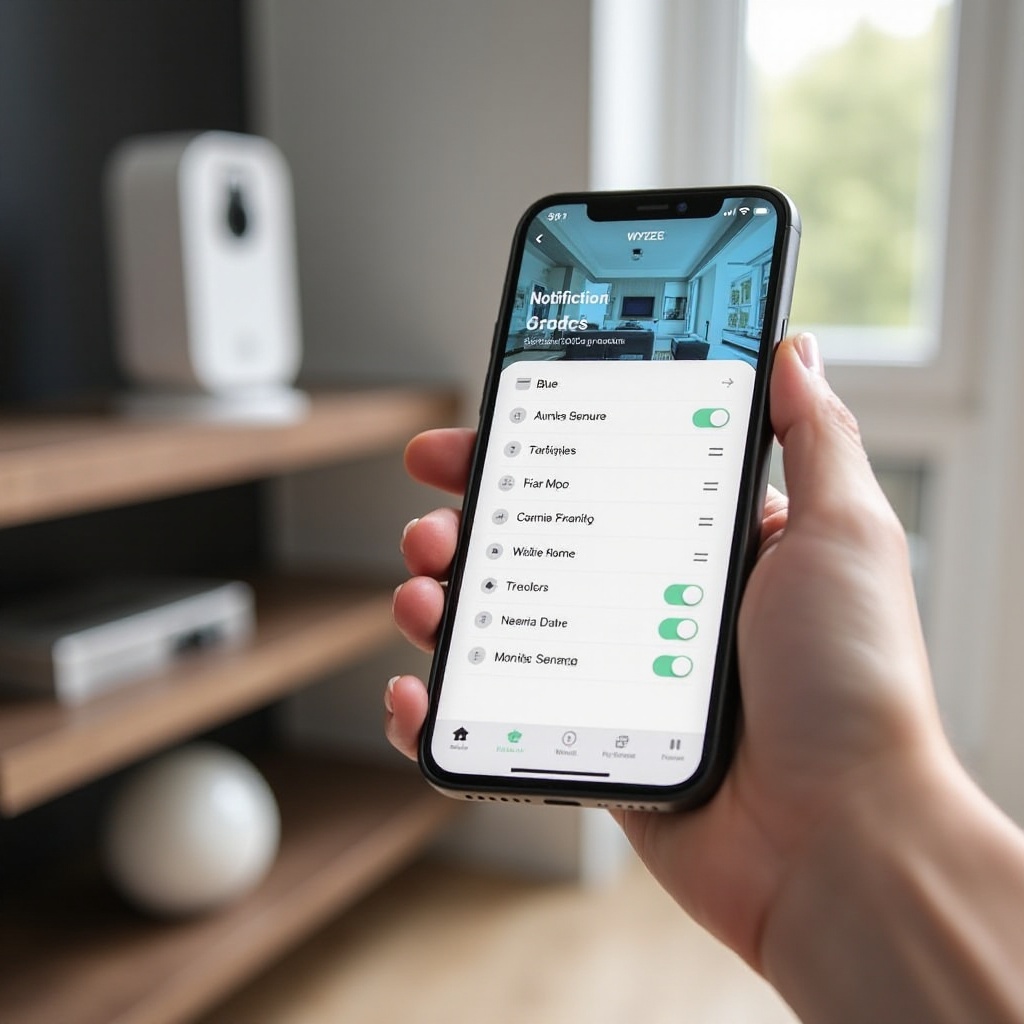
Notification Settings to Reduce Alert Fatigue
To avoid notification overload:
- Go to Notifications and choose which event types trigger alerts.
- Turn off alerts for minor motion if you only care about people or packages (where supported).
- Check your phone's OS‑level notification permissions so Wyze alerts are allowed but not overwhelming.
The goal is timely, relevant alerts, not a constant stream of pings that you end up muting.
Scheduling and Rules for Daily Use
Wyze Rules and Schedules help automate behavior:
- Create a schedule to enable motion alerts only at night or when you are away.
- Turn recording on or off based on specific times.
- Pair with other Wyze devices, such as turning on a Wyze Bulb when your camera detects motion.
These rules help your Wyze camera blend into your routine instead of interrupting it. Once your settings and rules feel right, you can focus on how and where your footage is stored.
Storage Options: Cloud vs microSD for Wyze Cameras
Once your camera runs reliably, you need a plan for recording and storing footage. Wyze supports both cloud and local storage, and many people use a mix of the two.
Wyze Cloud Storage Features and Limitations
Wyze cloud storage, often via Wyze services or plans:
- Stores motion or sound event clips on Wyze servers.
- Lets you access events even if someone steals or damages the camera.
- May include advanced features like longer clip length or smart detection on supported models.
Cloud storage requires an internet connection and, in many cases, a paid subscription after any free trial. However, it gives you an extra layer of protection if local storage fails.
Setting Up a microSD Card for Local Recording
For local storage:
- Use a high‑endurance microSD card, often 32–128 GB depending on the model's specs.
- Insert the card into the camera's microSD slot while it is powered off.
- Power on the camera and, in the app, go to Settings > Advanced to format the card if needed.
Local recording keeps footage on the card even without a cloud plan and without sending video to remote servers.
Event Recording vs Continuous Recording
Wyze offers two main recording modes:
- Event only: Records when motion or sound triggers an event. Saves space but may miss some context.
- Continuous: Records 24/7 to the microSD card. Uses more space but captures everything.
Choose based on how critical continuous coverage is for your situation, your card size, and how often you are willing to manage old footage.
Viewing, Downloading, and Managing Footage
To access recordings:
- For cloud events, use the Events tab in the Wyze app.
- For local recordings, use View Playback while on the camera's live view screen.
You can download important clips to your phone and back them up to cloud storage like Google Drive or iCloud for long‑term retention. Once you understand storage, the next step is to connect your Wyze camera setup with the rest of your smart home.
Integrating Wyze Cameras with Your Smart Home
With recording and settings tuned, you can now make your Wyze camera setup work with other smart home devices, especially popular voice assistants and other Wyze products.
Connecting Wyze Cameras to Amazon Alexa
To link Wyze with Alexa:
- Open the Alexa app.
- Go to More > Skills & Games and search for Wyze.
- Enable the Wyze skill and sign in with your Wyze account.
- Allow Alexa to discover devices.
Your cameras will now appear as Alexa devices, and you can control them with voice commands.
Viewing Wyze Feeds on Echo Show and Fire TV
After linking Wyze and Alexa:
- Say: Alexa, show [camera name] to view the stream on an Echo Show or Fire TV.
- Create Alexa routines that react to camera events, such as turning on a smart light when motion is detected in a hallway (where supported).
This makes your Wyze camera part of a more responsive home security setup that you can control and view hands‑free.
Linking Wyze Cameras to Google Home
For Google Home integration:
- Open the Google Home app.
- Tap + > Set up device > Works with Google.
- Search for Wyze Home or the current Wyze integration.
- Link your Wyze account and grant access.
Your Wyze cameras will show up under linked devices in Google Home and will be available for voice control.
Casting Wyze Video to Google Nest Hub and Chromecast
Once linked, you can say:
- Hey Google, show [camera name] on Living Room Display.
- Hey Google, show [camera name] on [Chromecast device].
This gives you quick, hands‑free access to your live camera feed on smart displays and TVs without opening the app.
Using Wyze Cameras with Other Wyze Smart Home Devices
Within the Wyze ecosystem, you can:
- Use Wyze contact sensors with cameras to trigger recordings when doors or windows open.
- Turn on Wyze plugs or lights based on camera motion.
- Build simple scenes, such as Night Mode, that adjust multiple devices at once.
Integration turns your Wyze camera setup into a broader, more powerful smart home system. As you add more devices, it becomes even more important to keep everything stable and secure, which brings us to common setup issues and security best practices.
Common Wyze Camera Setup Problems and Quick Fixes
Even with careful planning, you might run into issues during Wyze camera setup. Most have simple fixes if you know where to look and take a methodical approach.
Camera Won't Scan the QR Code
If the camera struggles to read the QR code:
- Increase your phone screen brightness to maximum.
- Hold the phone 5–8 inches away and move slowly.
- Tilt slightly to reduce glare.
- Clean the camera lens with a soft cloth.
If it still fails, restart both the camera and app, then regenerate the QR code and try again.
Cannot Connect to Local Network and Wi‑Fi Errors
If you see network errors during Wyze camera setup:
- Confirm you are connecting to a 2.4 GHz network, not 5 GHz.
- Double‑check the Wi‑Fi password character by character.
- Move the camera closer to the router during setup.
- Reboot your router and try again.
Sometimes, disabling MAC address randomization on your phone's Wi‑Fi settings during setup can also help resolve stubborn connection issues.
Wyze Camera Showing as Offline in the App
For offline devices:
- Make sure the camera has power and the status light is on.
- Test your Wi‑Fi with another device in the same spot.
- Restart the camera by unplugging and re‑plugging it.
- Restart your router if several smart devices show issues.
If the problem persists, you may need to delete the camera from the app and add it again using the standard Wyze camera setup steps.
Laggy Video, Poor Image Quality, or No Audio
To fix performance issues:
- Reduce video quality from HD to SD to see if it improves.
- Move the camera closer to the router or use a mesh Wi‑Fi system.
- Check that your internet upload speed is sufficient for the number of cameras you use.
- Make sure your phone and Wyze app are updated.
For audio issues, confirm the microphone and speaker icons are enabled in the live view and test with another device or network if possible.
Resetting and Re‑Adding a Wyze Camera
If all else fails:
- Press and hold the reset or setup button on the camera for the time specified in the manual until you hear a prompt.
- Delete the camera from the Wyze app.
- Repeat the complete Wyze camera setup process from the beginning.
A full reset clears old settings and often resolves stubborn connection problems. Once the camera is stable again, take a moment to review privacy and security so your system stays safe.
Privacy and Security Best Practices for Wyze Camera Setup
Your Wyze camera collects sensitive data, so a secure setup matters as much as a stable connection. A few simple steps protect your account, network, and home in everyday use.
Securing Your Wyze Account with Strong Passwords and 2FA
- Use a unique, complex password for your Wyze account.
- Store it in a reputable password manager.
- Turn on two‑factor authentication (2FA) in your Wyze account settings to add an extra layer of security.
This reduces the chance of someone accessing your cameras without permission, even if they somehow learn your password.
Protecting Your Home Network and Router
- Change the default admin password on your router.
- Keep router firmware updated to the latest version.
- Consider a separate guest network for visitors and non‑essential devices.
A secure network protects every smart device in your home, not just Wyze cameras, and helps keep your Wyze camera setup safe from basic attacks.
Managing Shared Access and Guest Users
If you share access to your cameras:
- Use the Wyze app's Sharing feature instead of sharing your own login.
- Remove access when someone no longer needs it.
- Review shared devices regularly in the app.
This keeps control of your cameras firmly in your hands and lets you track who can see what.
Using Privacy Zones and Smart Placement Indoors
- Use Privacy Zones to block sensitive areas of the frame from recording.
- Avoid placing cameras in bathrooms, bedrooms, or other areas where people expect privacy.
- Use schedules to pause recording during certain times if needed.
Thoughtful placement and settings protect both security and privacy, so your Wyze camera setup feels helpful rather than intrusive.
Conclusion
Wyze camera setup becomes far less intimidating when you break it into clear steps: prepare your network, add the camera in the Wyze app, mount it correctly, tune your settings, and choose the right storage and integrations. Once everything runs smoothly, your Wyze cameras provide reliable coverage, useful alerts, and easy access through Alexa, Google Home, and the Wyze app.
Keep your firmware and app updated, review notifications regularly, and adjust detection zones as your home changes. With these habits, your Wyze camera setup will stay stable, secure, and tightly integrated with the rest of your smart home.
Frequently Asked Questions
How long does Wyze camera setup usually take in 2024?
Most Wyze camera setups take 10–20 minutes per camera. That includes unboxing, connecting to 2.4 GHz Wi‑Fi, scanning the QR code, and adjusting basic settings. Mounting and cable management may add extra time.
Why won’t my Wyze camera connect to Wi‑Fi even after scanning the QR code?
The most common reasons are using a 5 GHz network, entering the wrong Wi‑Fi password, or having weak signal where the camera sits. Make sure you use 2.4 GHz, double‑check the password, and move the camera closer to the router during setup.
Can I use my Wyze camera without a subscription and still record video?
Yes. You can insert a supported microSD card and enable local recording for continuous or event‑based storage. A paid plan adds cloud recording and advanced features, but it is not required for basic local video recording.