Introduction
Cracked or shattered smartphone screens are a common issue for many users. While professional repair services are available, they can be costly. Gluing a new smartphone screen by yourself is a practical and budget-friendly solution. This guide will walk you through the entire process, from removing the damaged screen to ensuring a seamless fit for the new one.
Materials and Preparation
Before starting your repair, gather all necessary materials and tools. Proper preparation ensures a smooth and successful process. Here’s a list of what you’ll need:
- Replacement screen
- Specific adhesive for smartphone screens (e.g., B-7000 or T-7000)
- Microfiber cloth
- Isopropyl alcohol (preferably 99%)
- Mini screwdrivers (Phillips and Torx)
- Plastic prying tools or guitar picks
- Tweezers
- Suction cup
Once you’ve gathered these items, find a clean, well-lit workspace where you can focus on your repair without interruption. Place your tools and materials within easy reach to maintain an organized and efficient workflow.
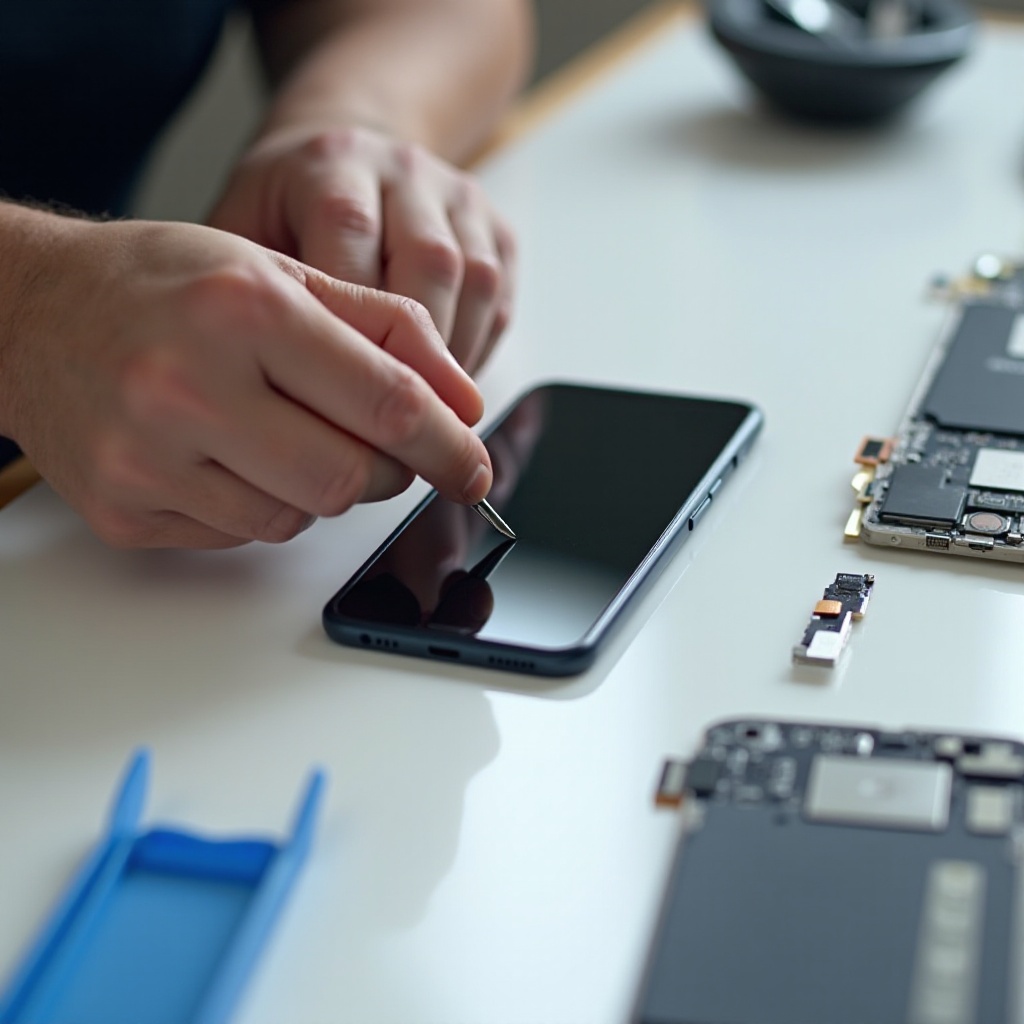
Step 1: Removing the Damaged Screen
Removing the old, damaged screen is crucial to the repair process. Follow these steps to ensure safe and effective removal:
- Power Off the Phone: Before starting, turn off your smartphone to avoid any electrical issues.
- Remove the Screws: Using the appropriate mini screwdriver, remove the screws that secure the screen to the phone’s frame. Most smartphones have two screws near the charging port.
- Use the Suction Cup: Attach the suction cup near the bottom edge of the screen (avoiding the home button if present). Gently pull up to create a small gap between the screen and the frame.
- Pry Open the Screen: Insert a plastic prying tool or guitar pick into the gap. Carefully slide it along the edges to release the adhesive holding the screen in place. Take your time to avoid damaging internal components.
- Disconnect Cables: Once the screen is loose, gently lift it to access the internal cables. Use tweezers to disconnect any ribbon cables connecting the screen to the motherboard.
With the damaged screen removed, you’re ready to prepare the surface for the new screen.
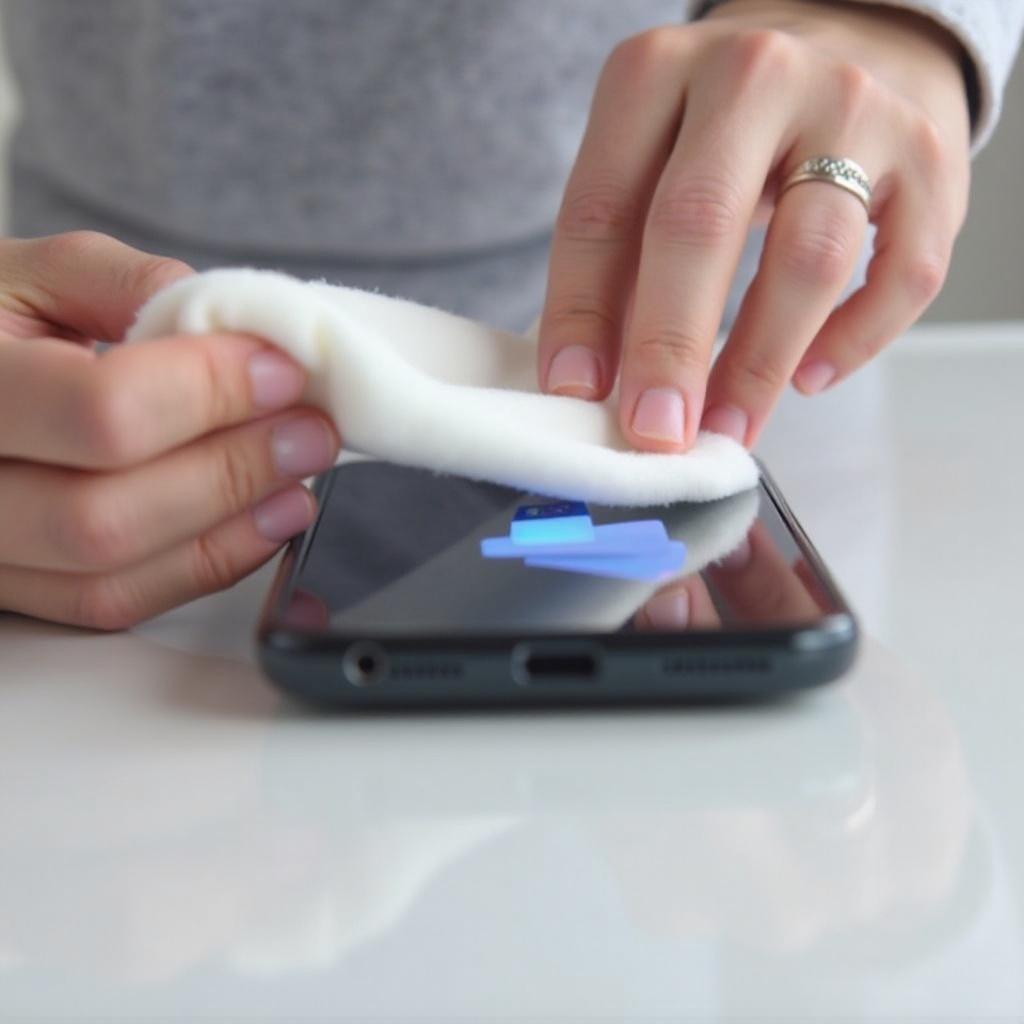
Step 2: Cleaning and Preparing the Surface
Properly cleaning and preparing the surface is essential for successful adhesion of the new screen. Here’s how to do it:
- Remove Residual Adhesive: Using tweezers or a plastic tool, carefully remove any remaining adhesive from the phone’s frame.
- Clean the Surface: Dampen a microfiber cloth with isopropyl alcohol and gently wipe the frame to remove dust, oils, and any leftover adhesive residue. Ensure the surface is completely clean and dry before proceeding.
- Inspect the Frame: Check for any damage to the frame that could affect the new screen’s fit. If necessary, smooth out any rough edges using a small file or fine-grit sandpaper.
A clean and well-prepped surface is crucial for a secure and lasting bond when applying the new screen.
Step 3: Applying the Adhesive
Applying adhesive correctly ensures a strong and durable bond for the new screen:
- Select the Right Adhesive: Choose an adhesive specifically designed for smartphone screens, such as B-7000 or T-7000. These adhesives offer a balance of strength and flexibility.
- Apply Adhesive Evenly: Carefully apply a thin, even layer of adhesive around the edges of the phone’s frame. Avoid using too much adhesive, as it can ooze out and create a mess.
- Avoid Sensitive Areas: Be mindful not to apply adhesive over components like the front camera, sensors, or speaker openings. Use a precise application to keep sensitive areas clear.
Once the adhesive is in place, you’re ready to position the new screen.
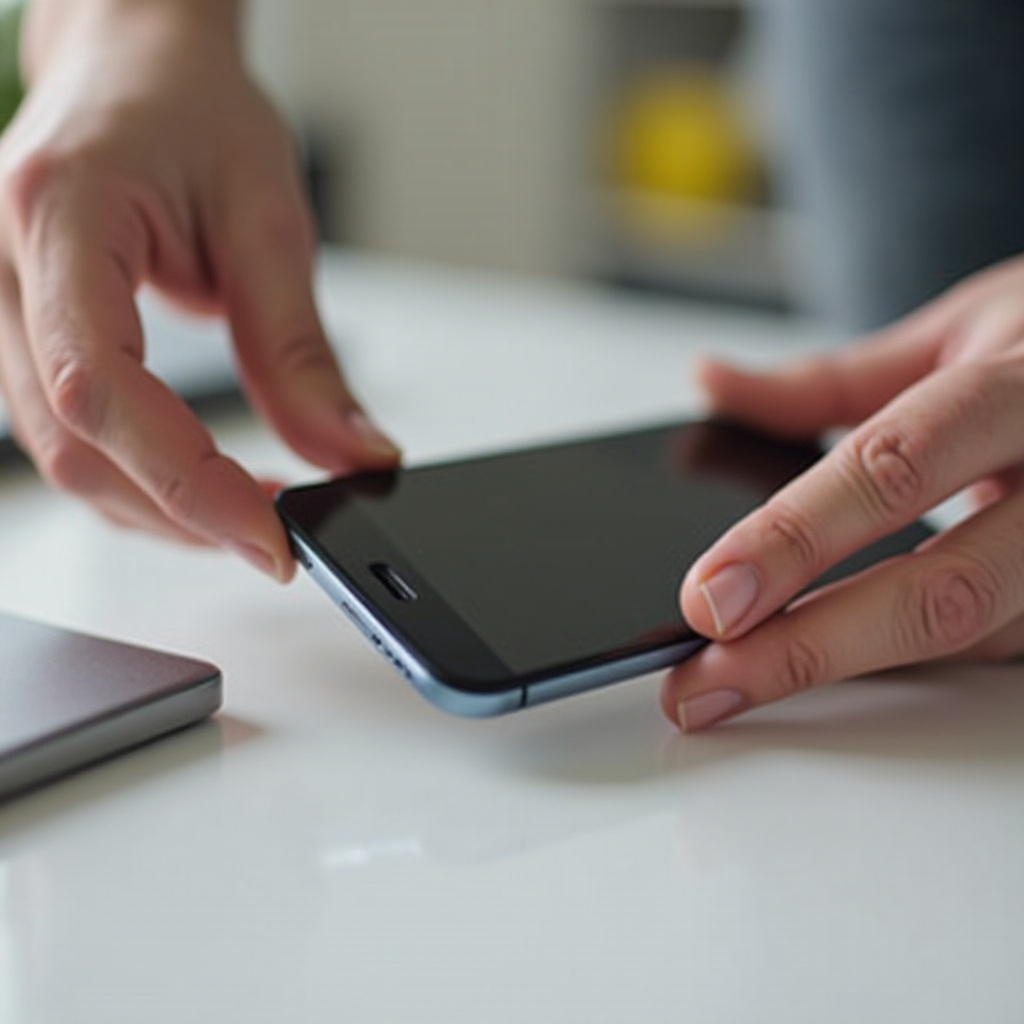
Step 4: Positioning and Securing the New Screen
Accurate positioning of the new screen is critical for functionality and aesthetics:
- Reconnect Cables: Carefully reconnect the ribbon cables to the motherboard, ensuring they are securely fastened.
- Align the Screen: Gently place the new screen over the adhesive, aligning it carefully with the frame. Double-check that all components, including buttons and cameras, are aligned correctly.
- Apply Uniform Pressure: Once positioned, apply uniform pressure across the edges to ensure the adhesive bonds effectively. You can use rubber bands or a small clamp to maintain pressure as the adhesive sets.
Properly securing the new screen ensures it stays in place and functions correctly.
Step 5: Post-Repair Testing and Final Adjustments
Testing the phone after the repair is an essential step to ensure everything works correctly:
- Power On the Phone: After allowing the adhesive sufficient time to set (refer to the adhesive’s instructions for curing time), power on your smartphone.
- Check Functionality: Test the touchscreen, display, and other components to ensure they are functioning correctly. Look for any issues like dead spots or uneven touch sensitivity.
- Final Adjustments: If the screen isn’t perfectly aligned, carefully make small adjustments as needed. Double-check that all screws are tightened and there are no loose components.
A thorough post-repair test ensures your phone is back in working order.
Conclusion
Gluing a smartphone screen yourself can seem daunting, but with the right tools, materials, and careful attention to detail, you can perform a successful repair. This guide provides a comprehensive overview to help you through each step, ensuring you can restore your smartphone screen and save on repair costs.
Frequently Asked Questions
What kind of adhesive should I use for gluing a smartphone screen?
Use adhesives specifically designed for smartphone screens, like B-7000 or T-7000. These adhesives provide a strong but flexible bond suitable for electronic components.
How long does it take for the adhesive to fully cure?
Curing times can vary, but generally, you should allow at least 24 hours for the adhesive to fully cure. Refer to the manufacturer’s instructions for precise timing.
What should I do if I see bubbles under the screen after gluing?
If you notice bubbles, gently press around the perimeter of the screen to push them out towards the edges. If necessary, you may need to reopen the screen and reapply the adhesive to achieve a bubble-free finish.