Introduction
Robot vacuums have revolutionized home cleaning. These smart devices save time and effort by efficiently cleaning floors with minimal human intervention. However, to ensure your robot vacuum performs at its best and lasts for years, regular cleaning and maintenance are essential. This guide provides you with detailed, step-by-step instructions on how to clean your robot vacuum effectively. We’ll cover everything from preparing to clean, tackling the dustbin, filters, brushes, and more. By the end of this guide, you’ll be equipped with all the knowledge you need to keep your robot vacuum in top shape.
Preparing to Clean Your Robot Vacuum
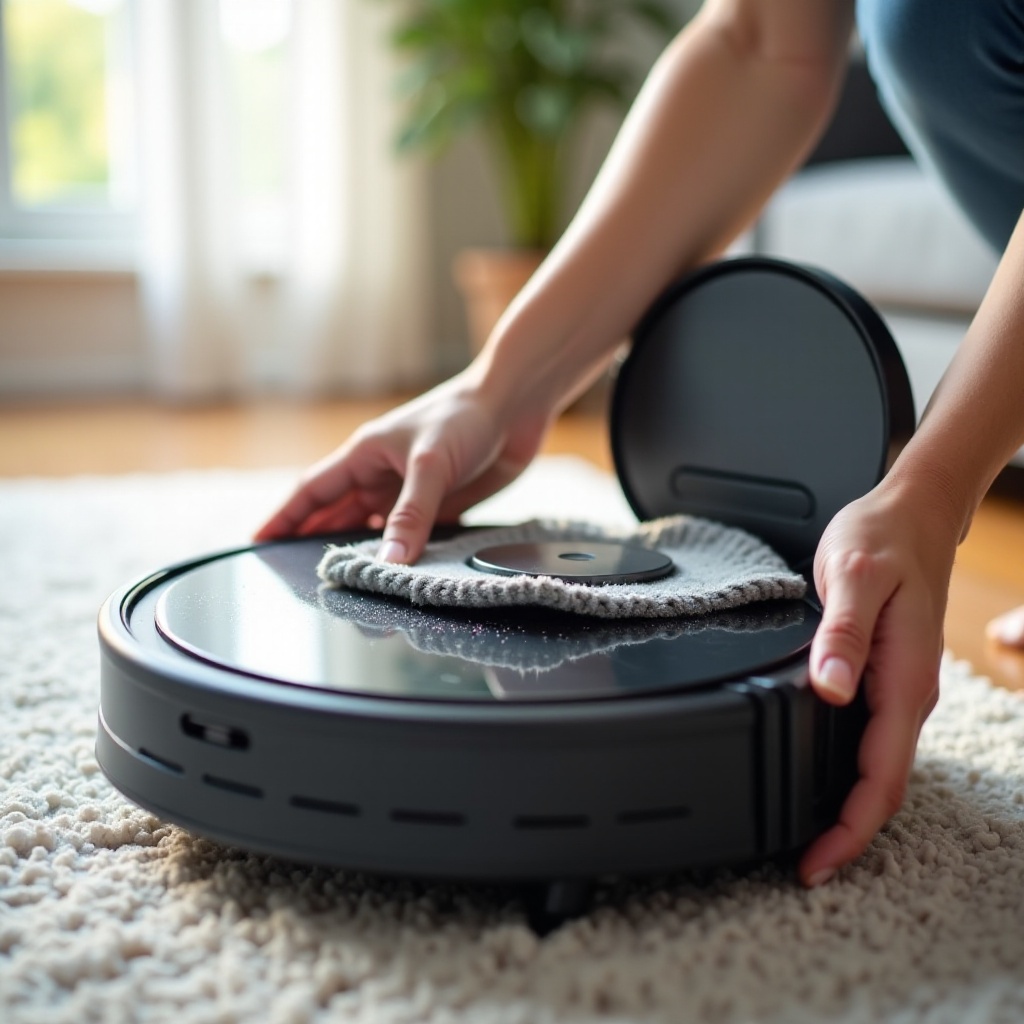
Before diving into the cleaning process, it’s crucial to prepare properly. Start by gathering all necessary tools and materials, such as a microfiber cloth, small brush, and screwdriver. Ensure that your robot vacuum is powered off and unplugged to avoid any electrical mishaps.
Position your cleaning station on a clean, flat surface where you can easily disassemble and reassemble the vacuum. This preparation step ensures that you have a smooth and efficient cleaning process without any interruptions.
Cleaning the Dustbin
The dustbin is the primary reservoir for all the dirt and debris your robot vacuum collects. To clean the dustbin:
- Remove the dustbin from the vacuum. Most models have an easily accessible release mechanism.
- Empty the contents into the trash.
- Use a damp cloth to wipe the dustbin clean. For stubborn dirt, a small brush can be helpful.
- Ensure the dustbin is completely dry before reattaching it to the vacuum to avoid moisture damage.
A clean dustbin is crucial for maintaining the vacuum’s suction power and overall efficiency.
Cleaning and Replacing Filters
Filters prevent dust and allergens from being released back into the air. Regular cleaning and timely replacement of filters are vital for maintaining your vacuum’s performance.
- Locate the filter compartment, usually underneath the dustbin.
- Remove the filter. Refer to the manufacturer’s instructions if necessary.
- Shake off loose debris and tap the filter gently against a solid surface.
- Wash the filter with water if it’s washable. Make sure it’s completely dry before reinserting it.
- Replace the filter if it’s showing signs of wear and tear or as per the manufacturer’s guidelines.
Clean filters ensure optimal airflow and prolong your vacuum’s life.
Dealing with Brushes and Rollers
Brushes and rollers pick up dirt, hair, and debris from your floors. They require regular maintenance to avoid blockages and wear.
- Remove the primary brush by releasing it from its compartment.
- Use a small brush or your hands to remove hair and debris wrapped around the brush.
- Wipe the brush with a damp cloth if necessary.
- Check the side brushes and clean or replace them if they are worn.
Regularly maintaining brushes and rollers ensures effective cleaning and prevents damage to your floors.
Cleaning the Sensors and Wheels
Sensors help your robot vacuum navigate and avoid obstacles, while wheels are essential for movement. Keep both clean to ensure smooth operation.
- Inspect the sensors, usually located on the sides and underneath the vacuum.
- Use a microfiber cloth to gently wipe off dust and dirt.
- Check the wheels for any stuck debris or hair. Remove it using your hands or a small brush.
- Spin the wheels to ensure they move freely and aren’t hindered by obstructions.
Clean sensors and wheels ensure your robot vacuum moves efficiently and avoids getting stuck.
Battery and Charging Base Maintenance
The battery is the lifeblood of your robot vacuum. Proper care and maintenance can extend its lifespan.
- Remove the vacuum from the charging base.
- Wipe the battery contacts with a dry cloth to ensure proper charging.
- Clean the charging base, removing any dust or debris.
Ensure that the area around the charging base is clean and free from obstructions to facilitate efficient charging.
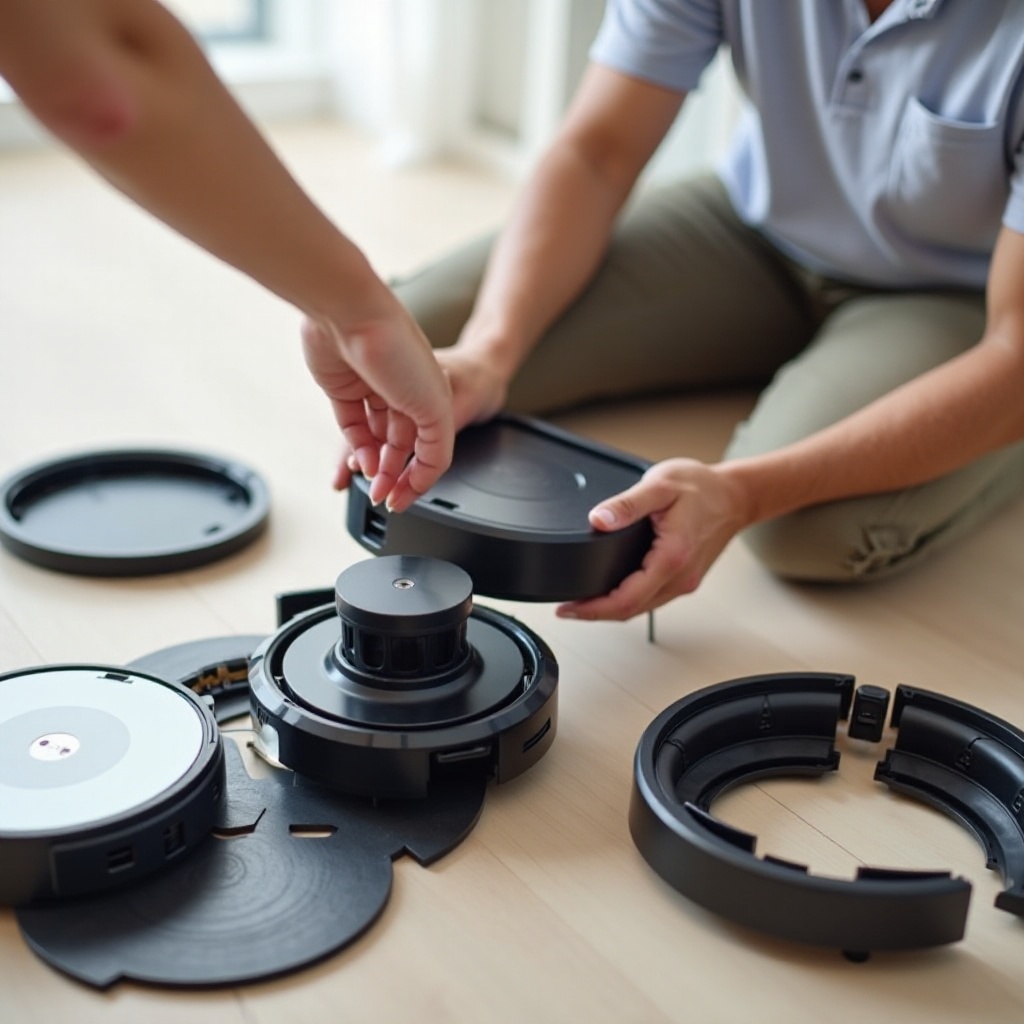
Reassembly and Function Test
Once all components are cleaned, reassemble your robot vacuum.
- Reattach the dustbin, filter, brushes, and any other parts.
- Ensure all components are securely in place.
- Power on the vacuum and perform a function test to ensure everything operates smoothly.
A successful function test indicates that your cleaning process was effective and your vacuum is ready for use.
Pro-Tips for Regular Maintenance
To prolong the life and maintain the efficiency of your robot vacuum, follow these pro-tips:
- Clean the dustbin after every use.
- Check and clean filters weekly.
- Inspect and clean brushes and sensors monthly.
- Replace worn-out parts as recommended by the manufacturer.
These simple practices ensure your robot vacuum stays in top condition.
Conclusion
Regular cleaning and maintenance of your robot vacuum is essential for its longevity and performance. By following this comprehensive guide, you can ensure your vacuum operates at peak efficiency, providing you with a cleaner home effortlessly. Make these cleaning routines a habit, and you’ll be rewarded with a reliable and long-lasting robot vacuum.
Frequently Asked Questions
How often should I clean my robot vacuum?
Ideally, you should clean the dustbin after every use, while filters and brushes should be checked weekly. More frequent cleaning may be necessary for high-traffic or pet-heavy homes.
What tools do I need to clean a robot vacuum?
You’ll need a microfiber cloth, a small brush, a screwdriver, and possibly a damp cloth for more thorough cleaning.
Can I wash the vacuum filters with water?
Yes, but only if the filters are labeled as washable. Ensure they are fully dry before reinserting them to prevent damage. Always refer to the manufacturer’s guidelines for the best care practices.